

*This DIY will properly show you how to remove your wiper and motor and how to seal the water pump so there is no risk of water getting in the rear*
Time: -1 hour to fully remove and seal the hole.
-Over night stay in garage to make sure the sealant seals and dries completely. (Min of at least I say 6 hours)
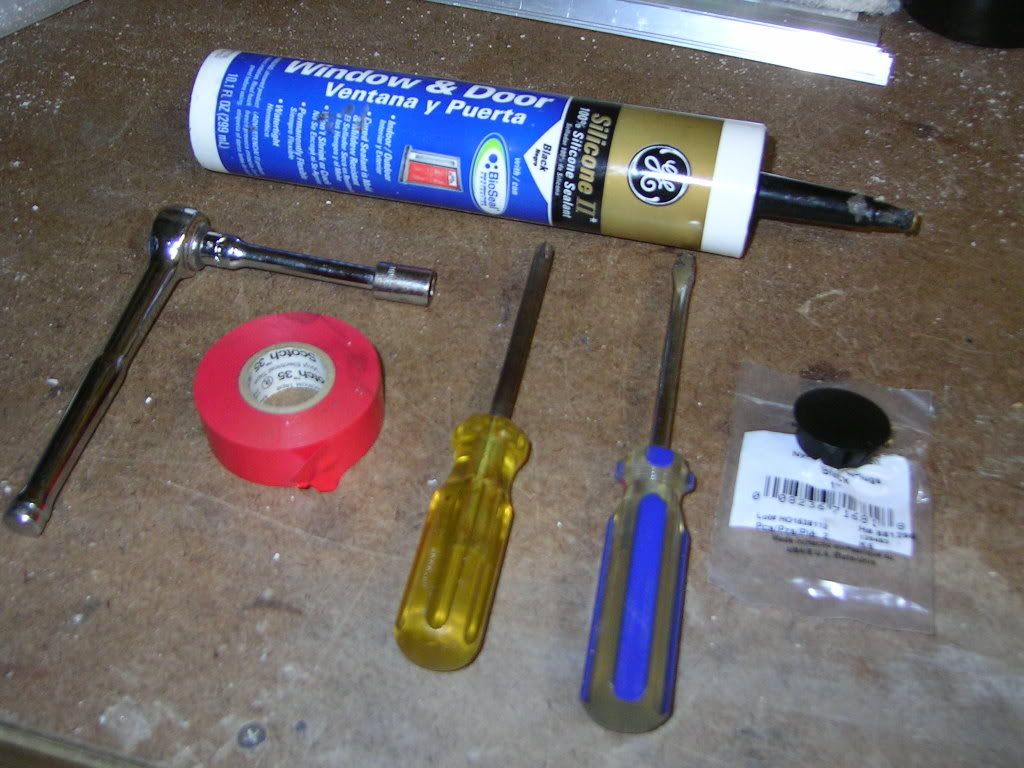
Tools:
-Strong thumbs
-1" nylon plug (bought at Lowes in hardware section)
-Phillips head screw driver
-Flat head screw driver
-Black interior/exterior sealer
-Some electrical tape or close enough
-10mm socket
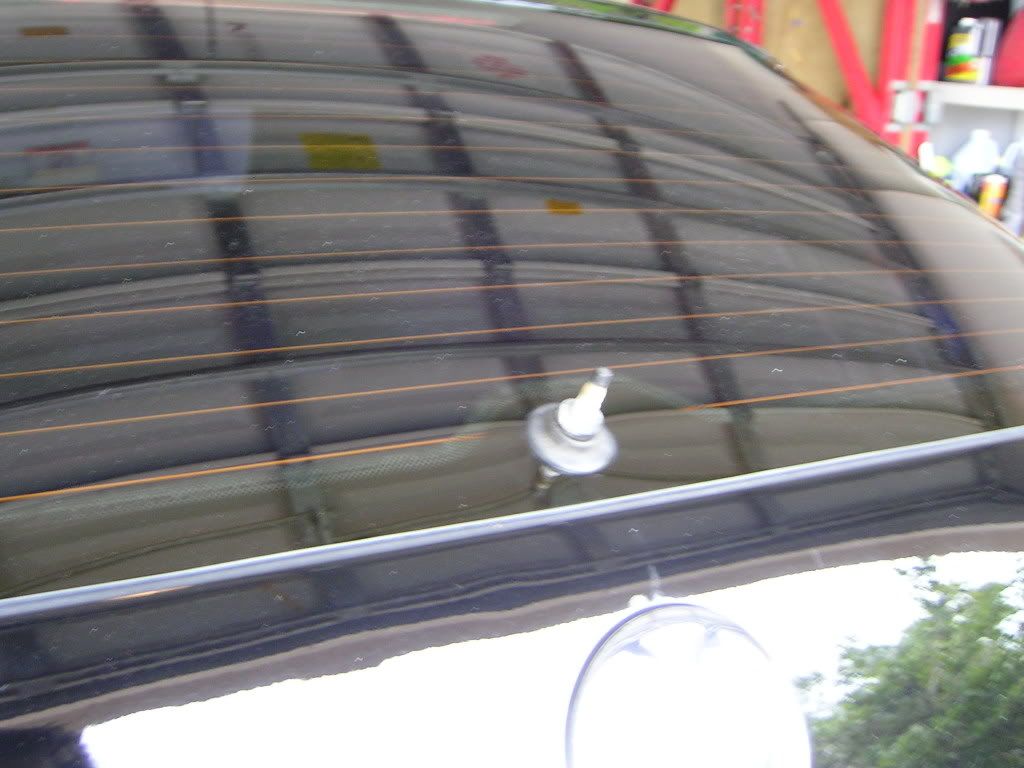
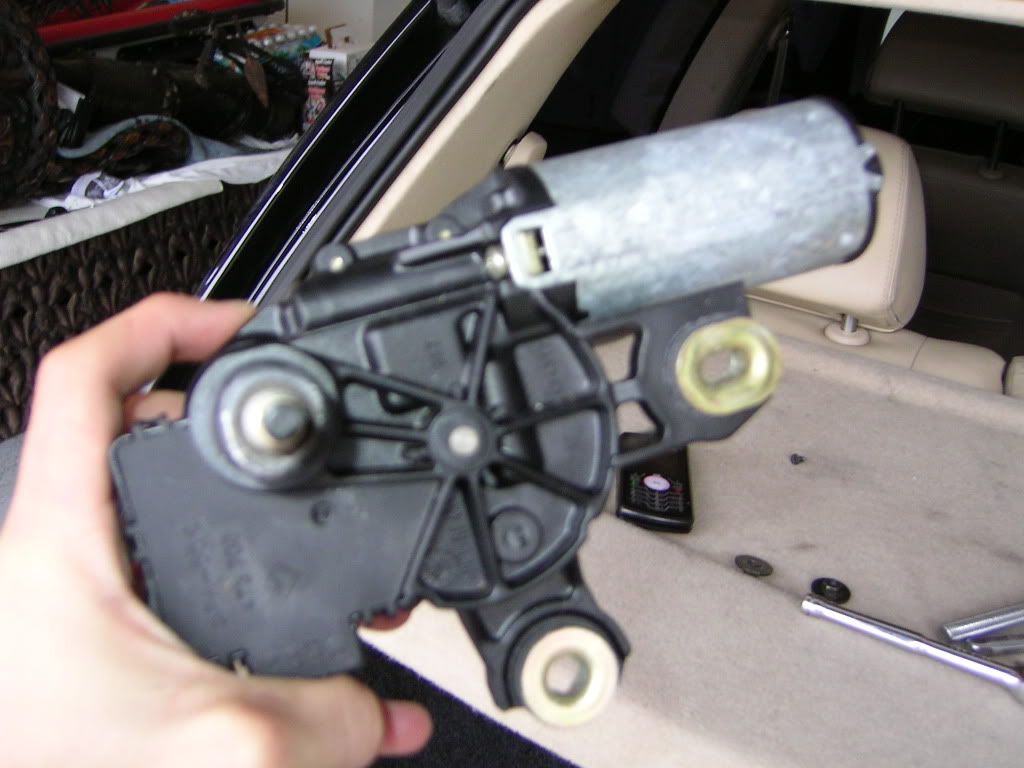
Step 1:
Lift the plastic tab that covers the 10mm socket. Unscrew that and remove wiper. You will get something like this.
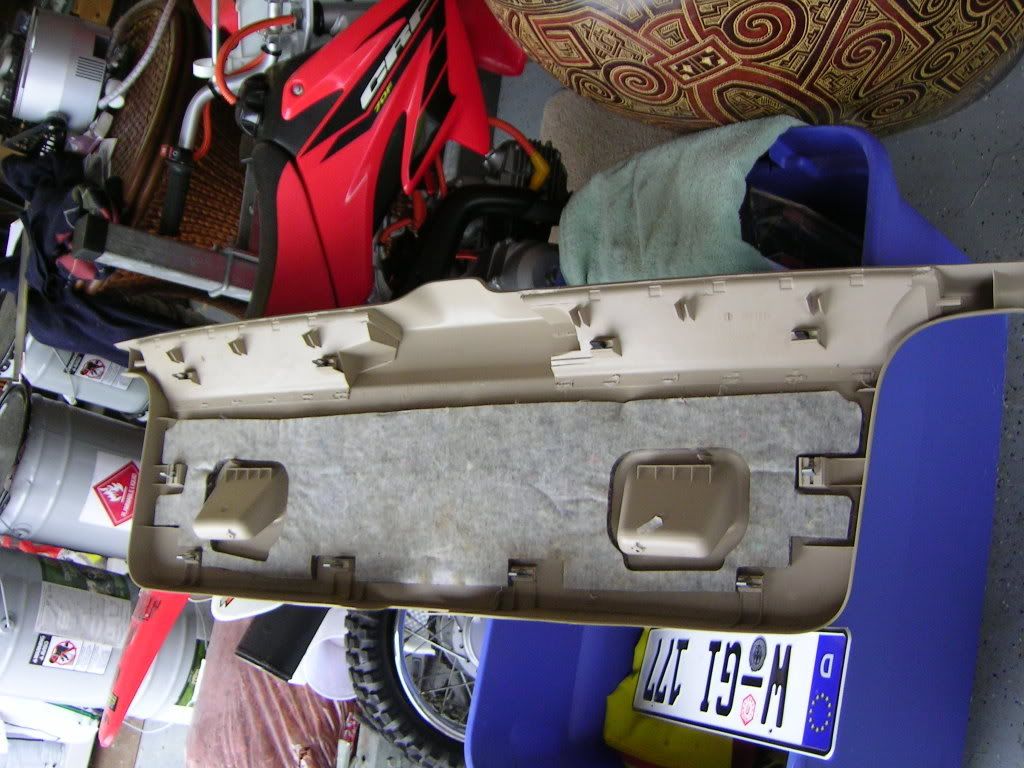
Step 2:
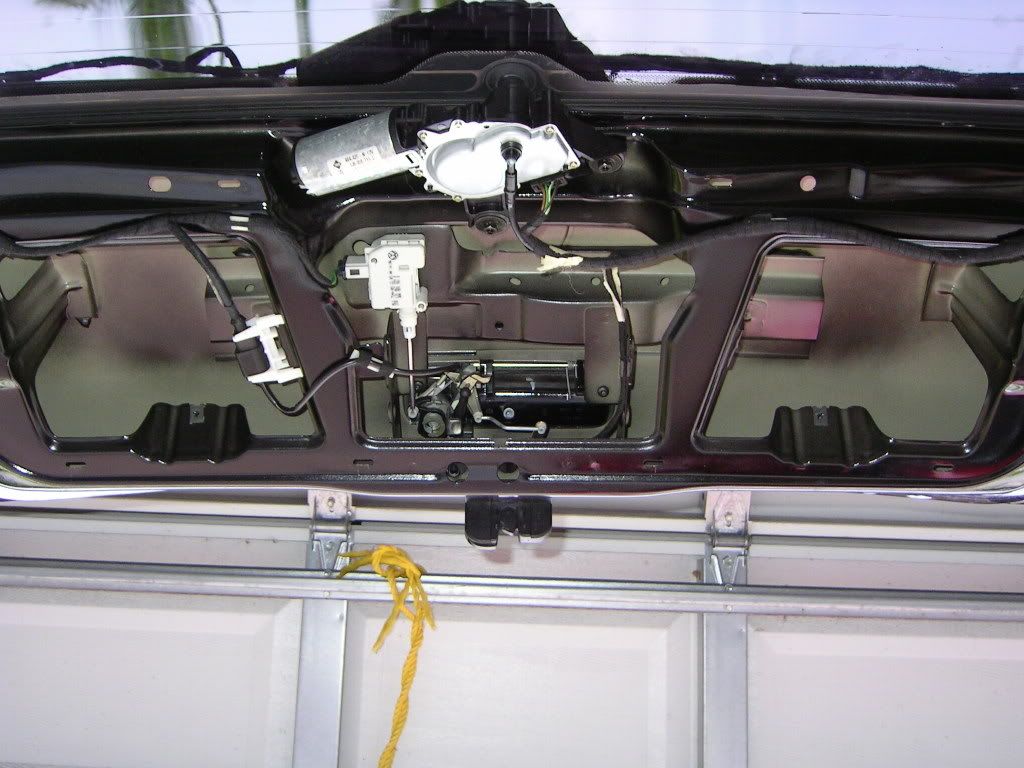
Open the trunk and remove the plastic hatch panel off. Lucky for me I have small hands and was able to stick my for fingers between the plastic and the glass and push against the glass with my thumbs.
If your not able start from where you are more comfortable. I do recommend to start from where the wiper motor goes.
The hatch is held with about 8 metal clips and two screws inside the handles when popping out you will hear a loud "crack”,” thump" kind of sound don’t worry you have not broken anything.
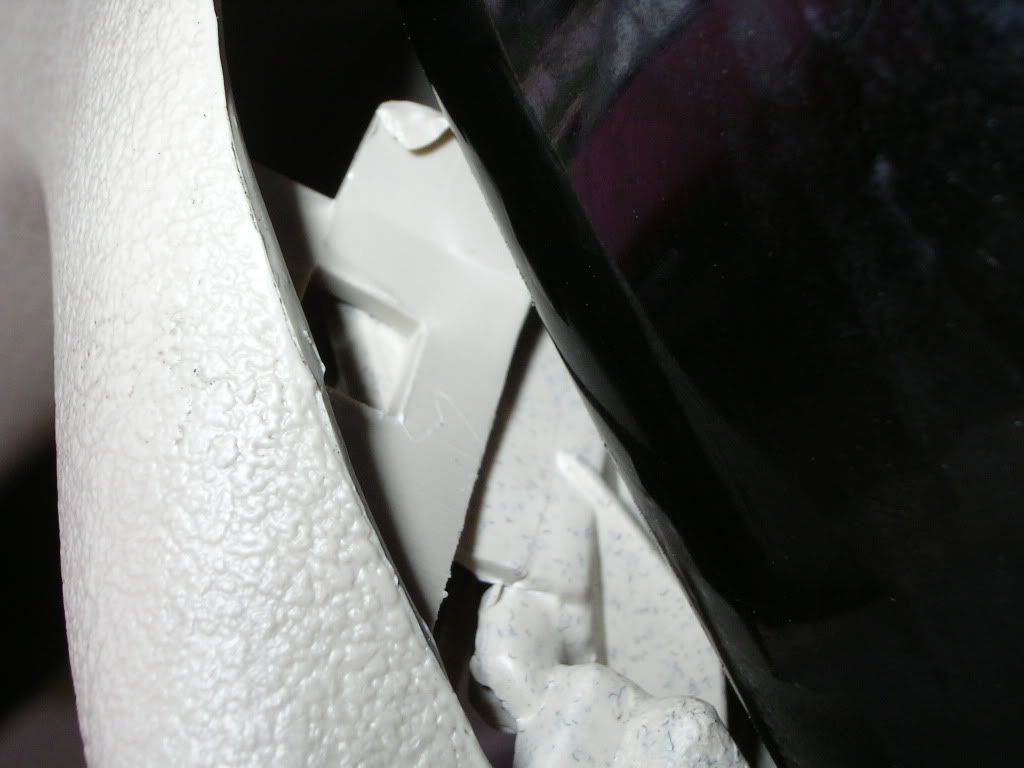
**important** There are two clips on each side of the door as circle on the picture which are delicate and could brake if you pull. Get a flat head screw driver and play with it until removed.
Step 3:
Unscrew the three 10mm screws and motor will come loose, after that unplug the two wires, don’t worry you won’t get wet with the water hose when disconnecting it.
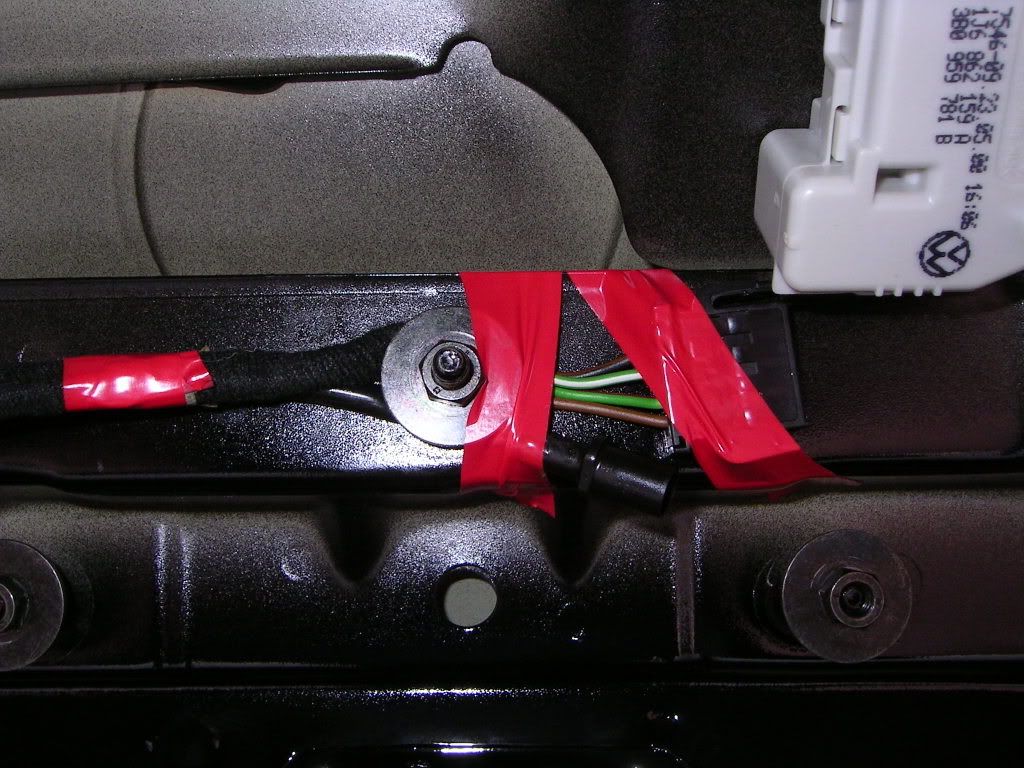
Step 4: After removing motor what I did with the two cables was I squeezed them with the washer that was originally there from the motor. I also taped it to the trunk just to be extra safe I would'nt get a rattling noise.
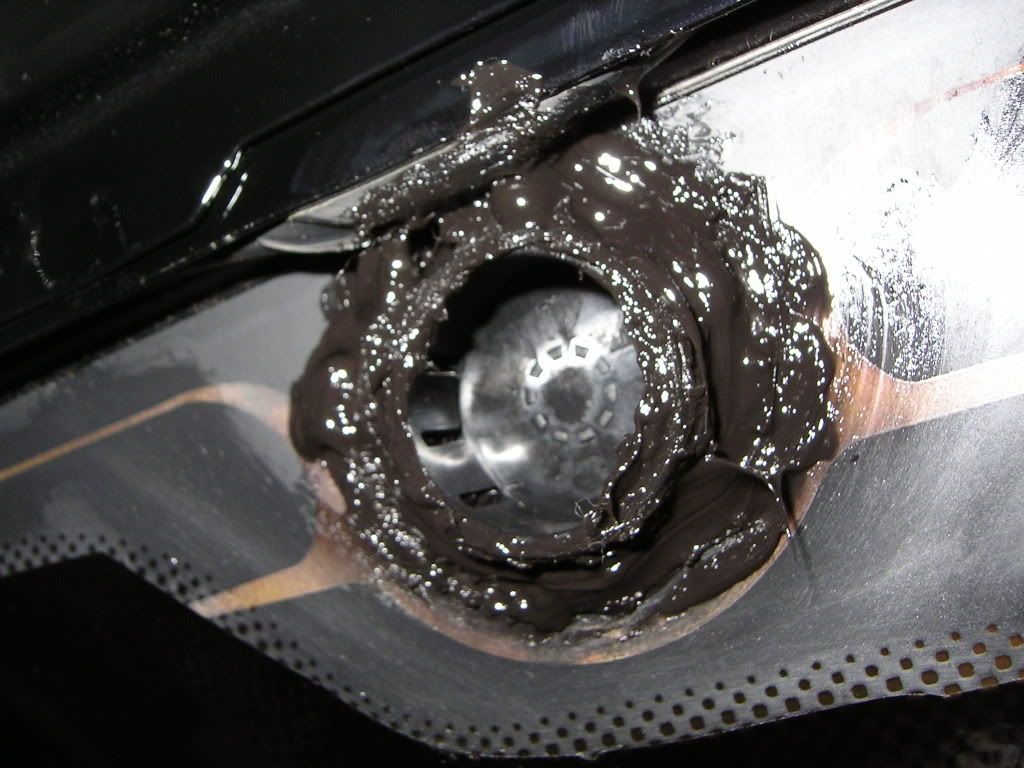
Step 5:
Grab your nylon plug and put some sealant on it. (Not too much you will make a mess). Put it in and then hold it tight from outside. After 5 min or so put a lot more sealant inside to make sure you smear it all around it so that there are no risks of a leak.
Step 6:
Put plastic hatch panel back on by playing around with it. Grab a
 or w/e you drink take a rest and get ready for the next part.
After having the physical part done its time to do the mechanic part. This part is optional but I HIGHLY recommend it. Just to make sure you don’t get your entire hatch wet if you accidently push the wiper stalk.
Step 1:
Pop the hood and look for the wiper fluid tank (located at the front, passenger side of engine bay). It’s grabbed on by two 10 mm plastic nuts. Loosen those two screws. One on the top next to the side fender and one deep down inside, not hard to get with an extension like I had.
Step 2:
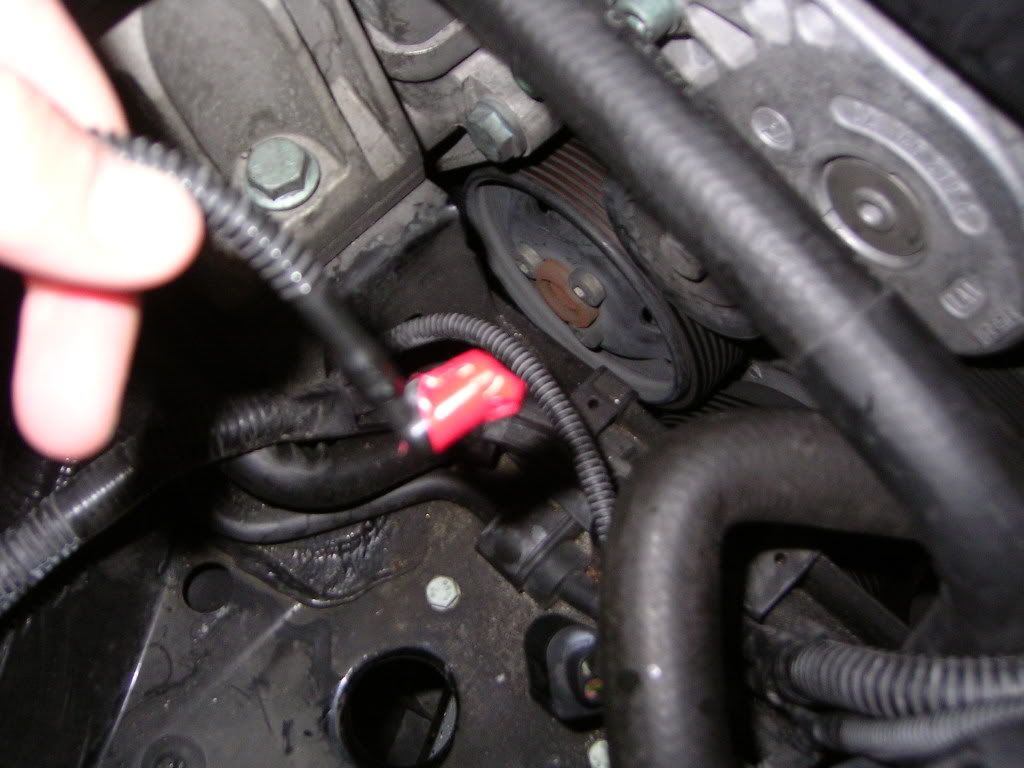
Before pulling out the fluid tank remove the two sensors that are on it one on the tank and one on the pump. If not sure on how to remove sensors look at other ones from the engine so you can get an idea.
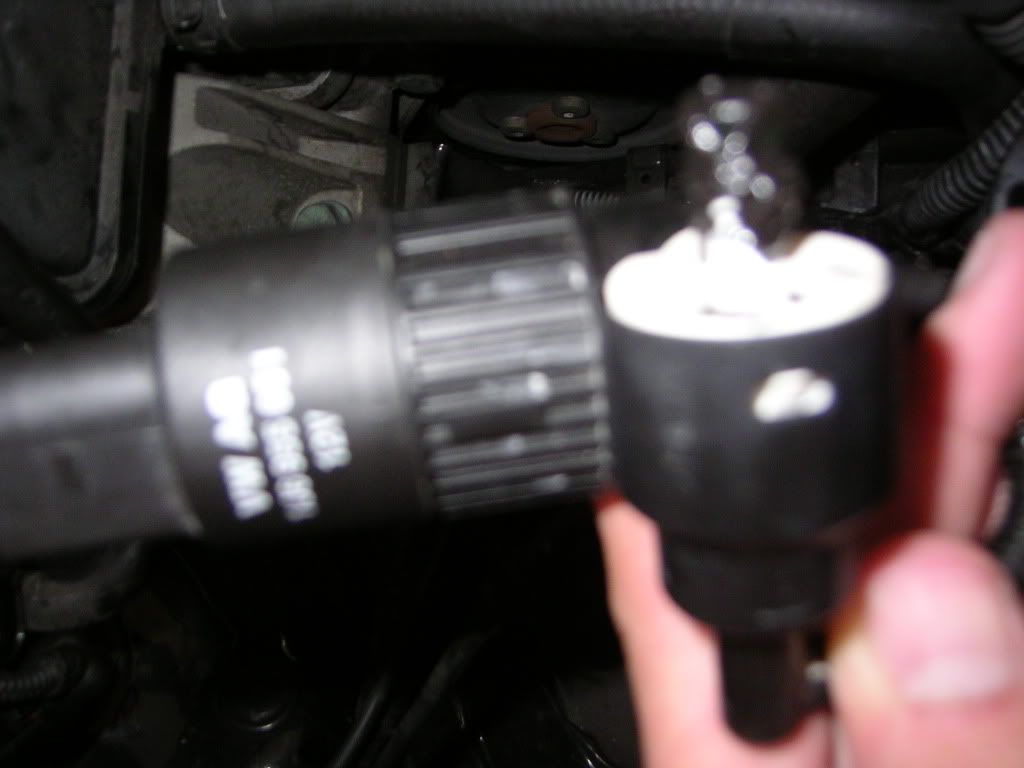
BEFORE PULLING THE PUMP!!! Be ready to get your floor wet. All the water will start coming out once you pull the pump from the tank!!! Pull out the tank and then remove the pump from it. Look at the white part of the pump and remove the hose from it, grab some tape and put it on the top so just incase the two hoses get disconnected you now which one is which.
Step 3:
Grab a normal black nail or screw or even a little plug that will tightly fit in the whole. Smear some sealant on the little plug and your going to want to plug the white plastic side of the pump.
Step 4:
Place the pump back into the tank. Put the tank inside the hole and connect the two sensors and tighten the two 10mm plastic screws back on. Also don’t forget to connect you front sprayer nozzle hose.
Now sit down and have a really cold
and admire your work 
Disclaimer: If you break anything by doing this DIY is not my fault.[/QUOTE]